Wall Art for Gamers (No IP Needed): Abstract, Pixel, and Neon Styles
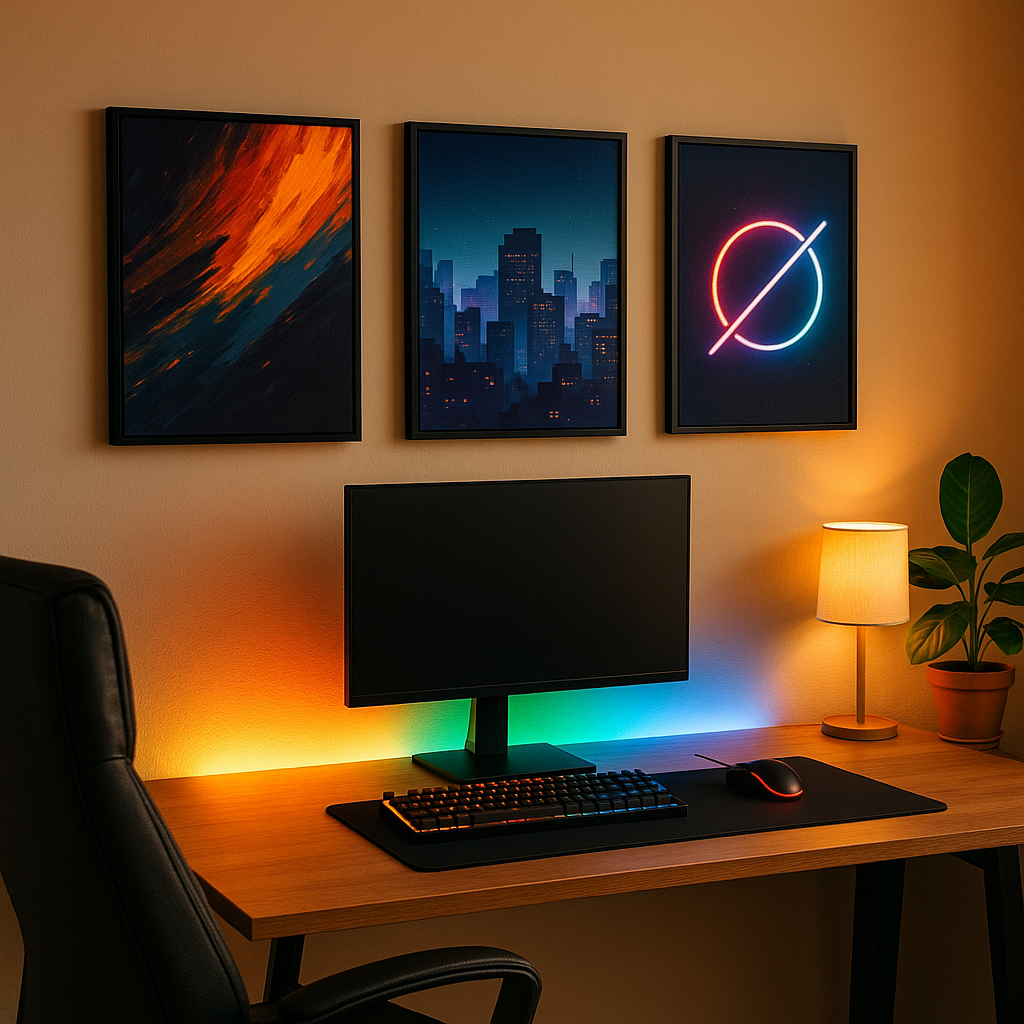
You don’t need licensed characters to make a gaming room look incredible. With the right mix of abstract patterns, pixel

You don’t need licensed characters to make a gaming room look incredible. With the right mix of abstract patterns, pixel

If your desk feels cramped or your monitor never sits quite right, the quickest upgrade is how you mount it.